 United Kingdom (UK)
 United States (US)
 Canada
 South Africa
 India
India Australia
 New Zealand
 China
China Russia
 Germany
 France
 Spain
Spain Netherlands
 Vietnam
 United Arab Emirates
 Italy
Italy Poland
 Thailand
 Türkiye


Master the TEFL Practicum Workflow for ESL Success
Master the TEFL Practicum Workflow for ESL Success

Starting a TEFL practicum can feel overwhelming when you are juggling lesson planning, technology checks, and professional paperwork all at once. The process matters because your practicum is the foundation for real-world teaching success in countries from Canada to South Korea. By focusing on a dedicated teaching space and organized materials, you shift your energy from frantic searching to confident, student-centered instruction. This guide gives you practical steps to set up your workspace, manage resources, and streamline your practicum for rewarding teaching placements.
Table of Contents
- Step 1: Organize Your Practicum Setup And Materials
- Step 2: Deliver Engaging ESL Lessons In Real Classrooms
- Step 3: Evaluate Your Teaching Performance And Student Feedback
- Step 4: Verify Practicum Requirements And Submit Documentation
Quick Summary
| Key Point | Explanation |
|---|---|
| 1. Prepare your teaching space effectively | Setting up a dedicated, organized area minimizes distractions and stress, allowing for better focus on student engagement during lessons. |
| 2. Use diverse instructional methods | Mixing teaching techniques such as group work and role-plays enhances student participation and maintains enthusiasm throughout the lesson. |
| 3. Collect and analyze student feedback | Gathering immediate feedback from students helps identify effective teaching strategies and areas that need improvement for future lessons. |
| 4. Maintain thorough documentation | Completing and organizing required practicum documents ensures timely certification and helps verify your teaching experience and effectiveness. |
| 5. Reflect on your teaching regularly | Keeping a teaching journal allows you to evaluate your lessons critically, facilitating professional growth and the application of advanced teaching techniques. |
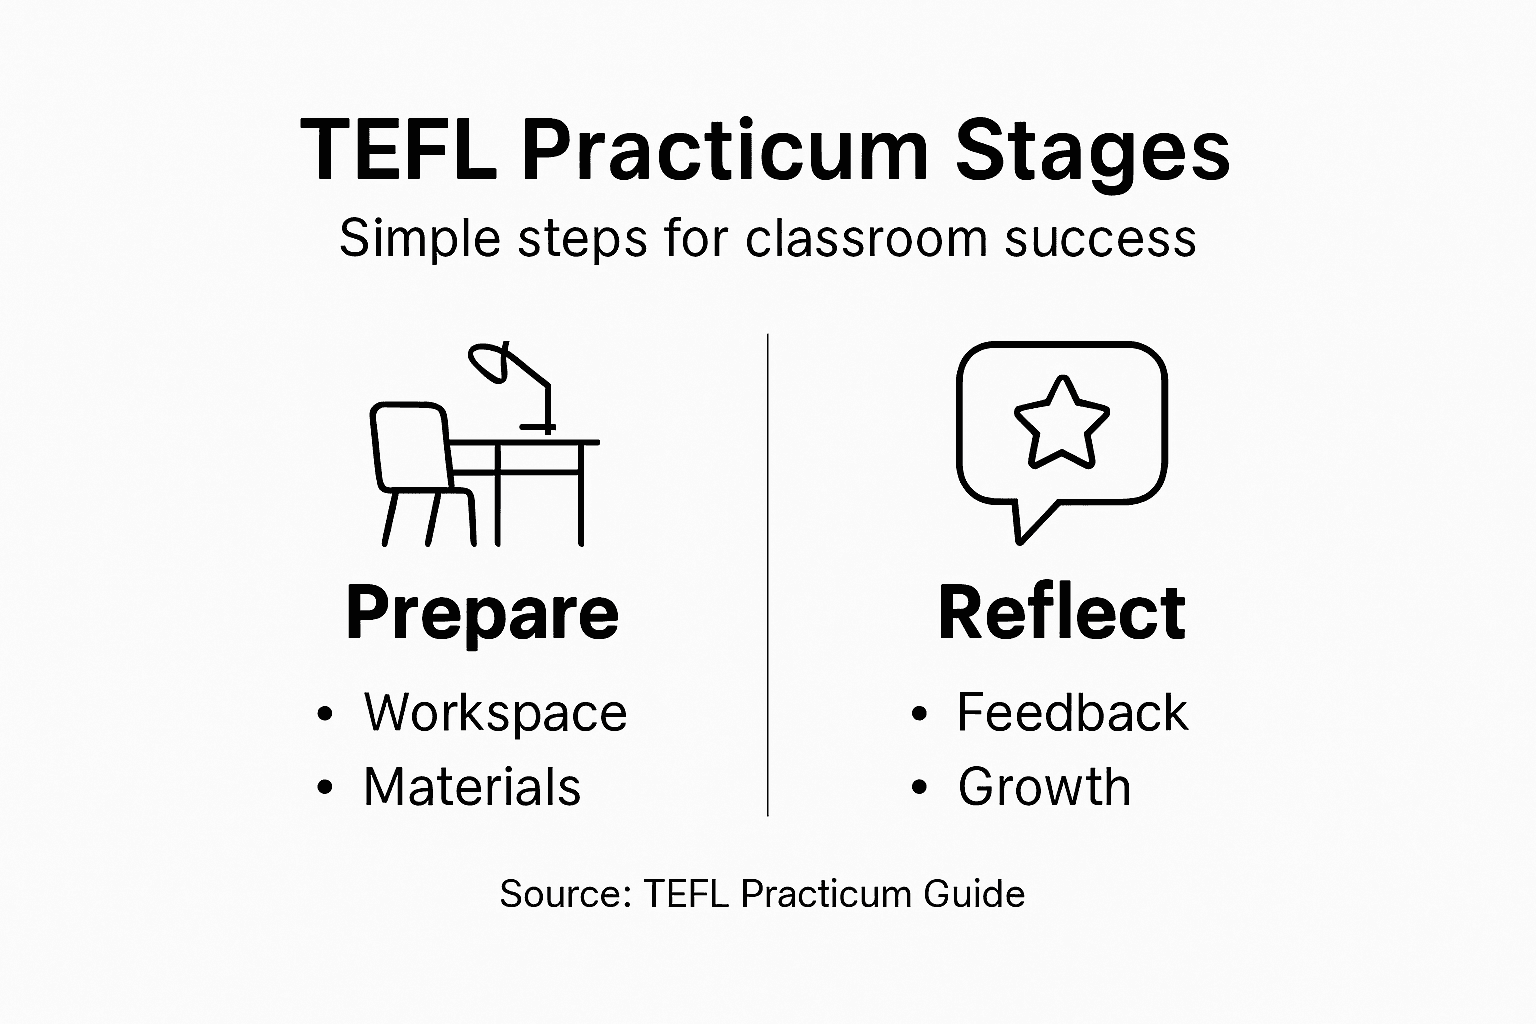
Step 1: Organize your practicum setup and materials
Your practicum success depends heavily on how well you prepare your physical and digital workspace before teaching begins. A thoughtful setup reduces stress during lessons and lets you focus on student engagement rather than hunting for materials.
Start by designating a dedicated teaching space, even if it’s just a corner of your home or office. This area should have reliable internet, a clear camera view, adequate lighting, and minimal background distractions. Test your setup thoroughly before your first practicum session to catch any technical issues.
Next, organize your core teaching materials in a logical system. Create folders or filing systems for lesson plans, handouts, vocabulary lists, and assessment tools. Keep digital files organized with clear naming conventions so you can locate resources within seconds during lesson prep.
Consider these essential components:
- Lesson plan templates aligned with professional teaching standards for consistency
- Printed and digital backup copies of all materials
- Timer, notebook, and pen for quick classroom notes
- Student roster and attendance tracking sheet
- Visual aids, flashcards, or images organized by proficiency level
Assemble your instructional aids next. Gather or create the flashcards, realia (real-world objects), or visual supports you’ll use. Organize these by topic or lesson unit so you can grab them without fumbling. If teaching online, bookmark websites, video links, and interactive tools in a dedicated browser folder.
Here’s a comparison of digital vs. physical organization strategies for practicum preparation:
| Organization Type | Advantages | Challenges |
|---|---|---|
| Digital | Fast access, easy to duplicate and update | Tech malfunctions, file management |
| Physical | Tangible, always available during lessons | Prone to loss, requires more space |
Set up a simple assessment tracking system to monitor student progress. This could be a spreadsheet, notebook, or digital form where you record observations about student participation, errors, and achievement. This documentation becomes invaluable for reflection and improvement.
Having everything prepared before your first class eliminates last-minute scrambling and lets you teach with confidence.
Test all technology once more—audio, video, screen sharing, and any platforms you’ll use. Run through your first lesson materials as if you’re a student to catch pacing issues or unclear instructions.
Pro tip: Create a master checklist of materials needed for each week and print it on Sunday; checking off items as you prepare lessons takes the cognitive load out of organization.
Step 2: Deliver engaging ESL lessons in real classrooms
Engaging your students from the moment class begins sets the tone for learning and keeps them invested throughout the lesson. Your ability to create a dynamic, interactive classroom experience separates good teachers from great ones.

Start each lesson with a compelling hook that connects to your students’ lives or interests. This could be a relevant question, a short video clip, a personal anecdote, or a visual prompt. A strong opening takes just 2-3 minutes but signals that today’s lesson will be worth their attention.
Mix your instructional methods throughout the lesson to maintain engagement. Avoid lecturing for extended periods. Instead, alternate between teacher-led instruction, pair work, group activities, and individual practice. Effective ESL teaching methods help you structure these transitions smoothly.
Incorporate these engagement strategies:
- Ask open-ended questions that require thinking beyond yes/no answers
- Use pair and group work to increase speaking time for each student
- Incorporate role-plays, games, or communicative activities
- Provide immediate, constructive feedback on language use
- Create opportunities for student choice in activities or topics
Monitor student participation actively during class. Watch for disengaged faces, confusion, or students not participating. Adjust your pace or approach if needed. Call on quieter students respectfully, and create a safe environment where mistakes are learning opportunities, not failures.
Use the target language as much as possible during instruction. Students need exposure to natural English in context. Avoid over-translating to students’ first language, even when tempted. Your consistent use of English builds listening comprehension and confidence.
Students engage when they feel respected, challenged appropriately, and included in the learning process.
Close each lesson with a brief review or reflection activity. Have students summarize key learning, ask remaining questions, or self-assess their progress. This reinforces the lesson and gives you insight into what stuck and what needs reteaching.
Managing classroom dynamics smoothly prevents disruption and maintains engagement. Establish clear expectations early, acknowledge positive behavior, and address issues calmly and privately when possible.
Pro tip: Prepare one flexible activity you can extend or shorten based on pacing; this prevents awkward downtime and keeps momentum strong throughout the lesson.
Step 3: Evaluate your teaching performance and student feedback
Reflection on your teaching is where real growth happens. Honest evaluation of what worked, what didn’t, and why transforms each lesson into a learning opportunity that strengthens your practice.
Start by collecting student feedback immediately after lessons. Use simple anonymous surveys with 3-5 questions asking what helped them learn, what was confusing, and what they’d like to see next time. Digital tools like Google Forms work well for this, or use paper slips if technology is limited.
Analyze your lesson effectiveness systematically. Look at student engagement levels, participation rates, and comprehension based on their responses to activities. Did quiet students speak up? Did struggling learners grasp the concept? These observations reveal whether your approach matched your students’ needs.
Review these performance indicators:
- Student participation and engagement throughout the lesson
- Quality and accuracy of student responses to your questions
- Pacing and whether you finished on time or ran short
- Clarity of your instructions and explanations
- Overall classroom atmosphere and student confidence
Record your thoughts in a teaching journal after each session. Note what succeeded, what flopped, and your ideas for improvement. Include specific examples of student moments, not just general impressions. Over time, patterns emerge that guide your development.
Apply advanced teaching techniques to areas where you struggled. If students seemed confused about a grammar point, try a different explanation method next time. If group work fell apart, adjust groupings or provide clearer role definitions.
Seek feedback from your practicum mentor or supervisor. They observe what students might not articulate. Ask specific questions about your pacing, explanations, classroom presence, or interaction patterns. Frame feedback requests as opportunities to improve, not as criticism.
The best teachers view every lesson as a chance to learn something about their students and themselves.
Create an action plan based on your evaluation. Pick one or two areas to focus on for the next week. Small, targeted improvements build momentum better than trying to fix everything at once.
Track your progress across multiple lessons. You’ll notice patterns in what strategies work with your specific student groups, which builds confidence and expertise.
Pro tip: Record yourself teaching (with permission) and watch key moments; you’ll notice things you missed in the moment, from pacing to body language, that shape how students perceive your lessons.
Step 4: Verify practicum requirements and submit documentation
Submitting your practicum documentation correctly ensures your certification is official and recognized worldwide. Missing or incomplete paperwork can delay your TEFL credential, so attention to detail matters here.
Review your course requirements checklist first. Your program specifies exactly what documentation you need to submit. This typically includes lesson plans, teaching reflections, mentor feedback forms, student attendance records, and evidence of hours completed. Check your course handbook or learning portal for the definitive list.
Understanding TEFL practicum requirements helps you gather materials systematically. Most programs require a minimum number of teaching hours, specific lesson plan formats, and signed verification from your practicum supervisor or teaching institution.
Gather these essential documents:
- Completed lesson plans with clear objectives and activities
- Mentor or supervisor evaluation forms and feedback
- Proof of teaching hours (signed attendance sheets)
- Student feedback or engagement records
- Your teaching reflections and self-assessments
- Any assessment or grading records you maintained
Organize all materials in clear, labeled folders or files. Use consistent naming conventions so documentation is easy to locate. Digital submissions require proper file formats (PDF works universally), so convert documents if needed.
Below is a summary of practicum documentation types and what they demonstrate for your certification:
| Document Type | Demonstrates | Common Format |
|---|---|---|
| Lesson Plans | Planning skills, instructional design | PDF or Word file |
| Mentor Evaluations | Supervision, teaching impact | Signed forms |
| Attendance Records | Hours completed, class consistency | Signed sheet |
| Student Feedback | Responsiveness to learners | Survey summary |
| Teaching Reflections | Professional growth, critical thinking | Journal entry |
Verify document authenticity requirements. Some programs require original signatures or official stamps from your teaching institution. Ask your supervisor to sign or stamp papers before you leave. If working remotely, discuss whether digital signatures or scans are acceptable.
Double check your submission deadline and method. Know whether you upload documents to a portal, email them, or submit physical copies. Submit at least one week before the deadline to avoid technical issues or last-minute problems.
Incomplete or late documentation can delay your certification by weeks or months, so treat submission as a priority task.
Create a verification checklist and mark off each requirement as you gather it. This prevents the frustration of discovering missing items after you thought you were finished.
Proofread everything before submitting. Typos in lesson plans or reflection essays reflect poorly on your professionalism. A quick final review takes minutes and protects your credibility.
Pro tip: Keep backup copies of everything you submit on your personal computer or cloud storage; if a file gets lost in transmission, you can resubmit instantly without scrambling to recreate documents.
Take Control of Your TEFL Practicum Journey with Confidence
Mastering your TEFL practicum means overcoming the challenges of organization, lesson delivery, and evaluation to emerge as a confident ESL teacher. If you find yourself overwhelmed by setting up teaching materials, engaging real classrooms, or navigating complex documentation requirements, you are not alone. The pressure to deliver consistent, effective lessons while meeting practicum standards can feel daunting. This article has shown the importance of a clear workflow that supports you every step of the way.

Ready to transform the stress of practicum preparation into a structured, rewarding experience? Explore the comprehensive online TEFL courses at TEFL Institute that include expert guidance on practicum requirements, advanced teaching techniques, and reflective practices. Whether you want to advance with micro-credentials, take on hybrid programs that blend theory with practicum, or access practical teaching resources and support, begin your journey now. Visit TEFL Institute’s landing page to find courses tailored to your goals, and start building the skills that lead to success in ESL teaching worldwide.
Frequently Asked Questions
What materials do I need to prepare for my TEFL practicum?
You need to organize lesson plans, assessment tools, and teaching aids. Create a clear system for both physical and digital resources, ensuring easy access during lessons.
How can I make my ESL lessons more engaging for students?
To engage students, start with a compelling hook and mix instructional methods throughout the lesson. Incorporate activities like role-plays and group work to increase student participation and ensure that the lessons are interactive.
What should I include in my teaching reflection after each lesson?
Focus on student engagement, quality of responses, and the effectiveness of your instructions. Record specific moments, challenges, and ideas for improvement to guide your future lessons.
How can I ensure my practicum documentation is complete before submission?
Review your course requirements checklist to gather all necessary documentation like lesson plans and student feedback. Organize these documents in clear, labeled folders to avoid any last-minute omissions.
What steps should I take to evaluate my teaching performance?
Collect student feedback, observe participation levels, and analyze engagement throughout the lesson. Maintain a teaching journal to note thoughts post-lesson and identify patterns for improvement over time.